
How to configure proxy on Android device using Limeproxies?
Android devices allow configuring proxy settings for each Wi-Fi network. This might be required if you need to access the Internet on a specific network (like a business or school network, for example). The browser traffic will be sent through the proxy you configure.
The proxy you configure will be used by Chrome and other web browsers, but might or might not be used by other apps. Each app developer can choose whether it’s allowed to use Android’s proxy or not.
These are the steps you must follow in order to configure the proxy on your android device:
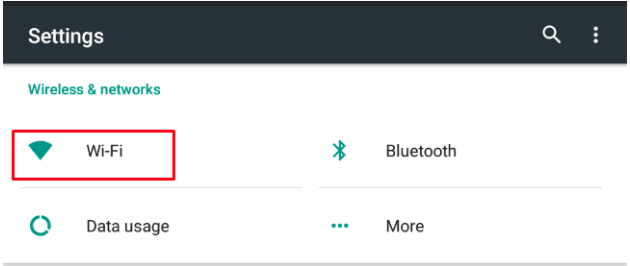
- Open Android’s Settings app and tap “Wi-Fi” to view a list of Wi-Fi networks.
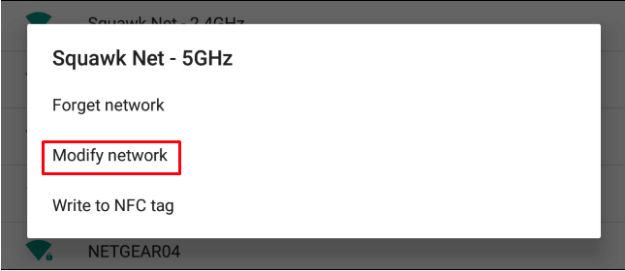
- Long-press the name of the Wi-Fi network you want to change the proxy settings for.
Tap “Modify Network” when a menu appears.
If you haven’t already connected to the Wi-Fi network, you’ll need to connect to the
Wi-Fi network and enter its passphrase before you can access the “Modify Network”.
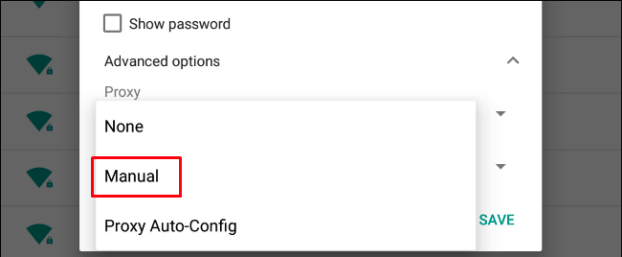
- Expand the “Advanced options” section on this screen.
Tap the “Proxy” option and select“Manual” to manually enter proxy server settings.
- Enter the address of the proxy in the “Proxy hostname” box. Enter the port number 1212.
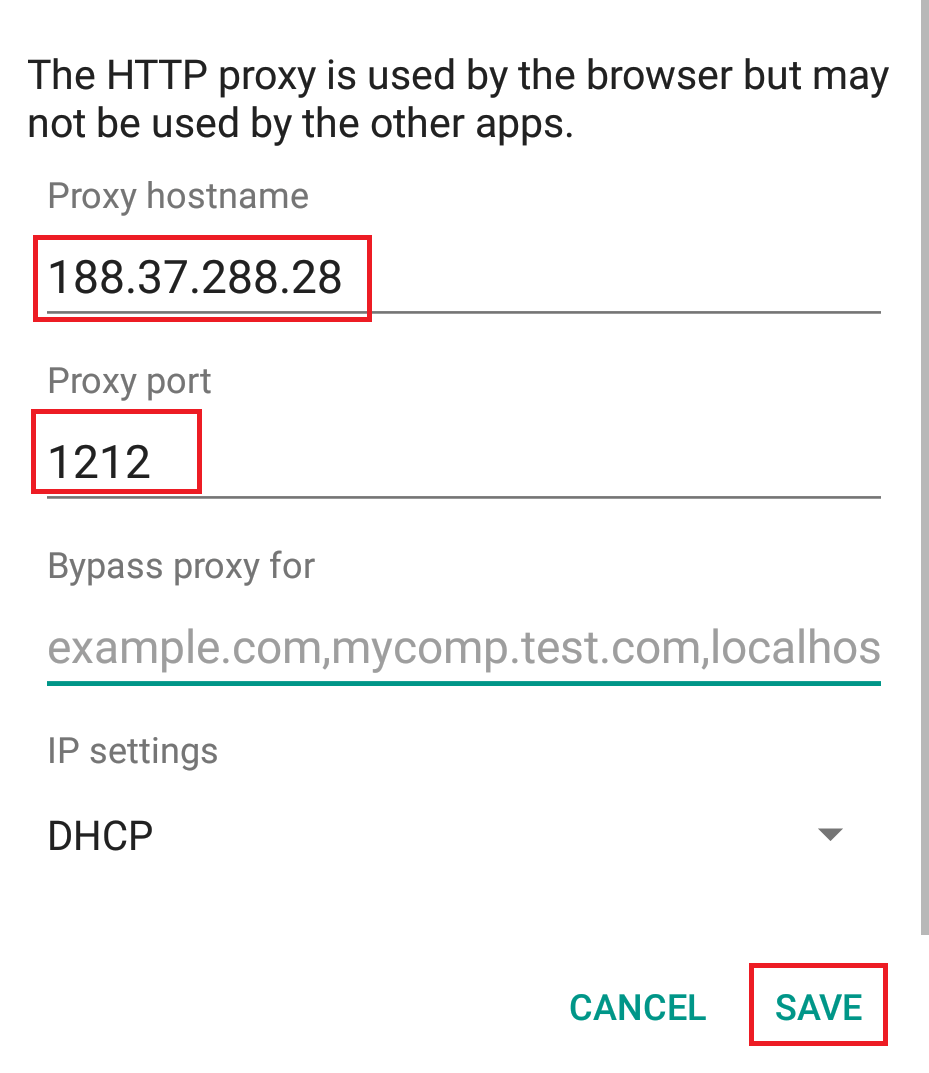
- Tap “Save” to save your settings.
You will now be able to use the proxy on your Android device.